Importing Channels into ChannelCrawler
 Jake Kitchiner
Learn to import YouTube channels into ChannelCrawler to enrich data, exclude duplicates, and apply filters for faster, smarter influencer outreach.

If you’re running influencer discovery or outreach campaigns, chances are you already have a list of YouTube creators you want to keep track of. With ChannelCrawler, you can import those channels directly into the platform and unlock powerful benefits that save you time, credits, and effort.
In this guide, we’ll walk through:
- The three main benefits of importing channels
- How to set up your import
- Ways to enrich, filter, and exclude channels for smarter outreach
Watch the walkthrough here:
Why Import Channels into ChannelCrawler?
Importing your own list of YouTube channels comes with three key advantages:
- Enrich your channels with data
- Get missing contact details like email addresses.
- Refresh outdated performance metrics with up-to-date stats.
- Exclude channels from future searches
- Keep your searches clean by hiding creators you’ve already reviewed.
- Avoid wasting credits on contacts you already have.
- Apply advanced filters to your imported list
- Run ChannelCrawler’s filters on your imported channels.
- Quickly see which ones meet your criteria (audience size, engagement, location, etc.).
How to Import Channels into ChannelCrawler
Importing channels is quick and straightforward:
- Go to Imports in your dashboard and click New Import.
- Prepare your CSV file:
- Your file must be one column only (Channel IDs, YouTube URLs, or @handles).
- Add a header at the top (call it anything you like).
- Files can be only be 10MB or less in size
- Upload your file:
- If your list is too large, simply split it into multiple files.
- Once uploaded, ChannelCrawler will check your file, match existing data, and begin enrichment for missing channels.
- Track progress:
- You’ll get an email notification when the import is complete.
- You can also monitor progress in-app, with an estimated completion time.
What You Can Do with Imported Channels
Once your channels are imported, you can put them to work in three powerful ways:
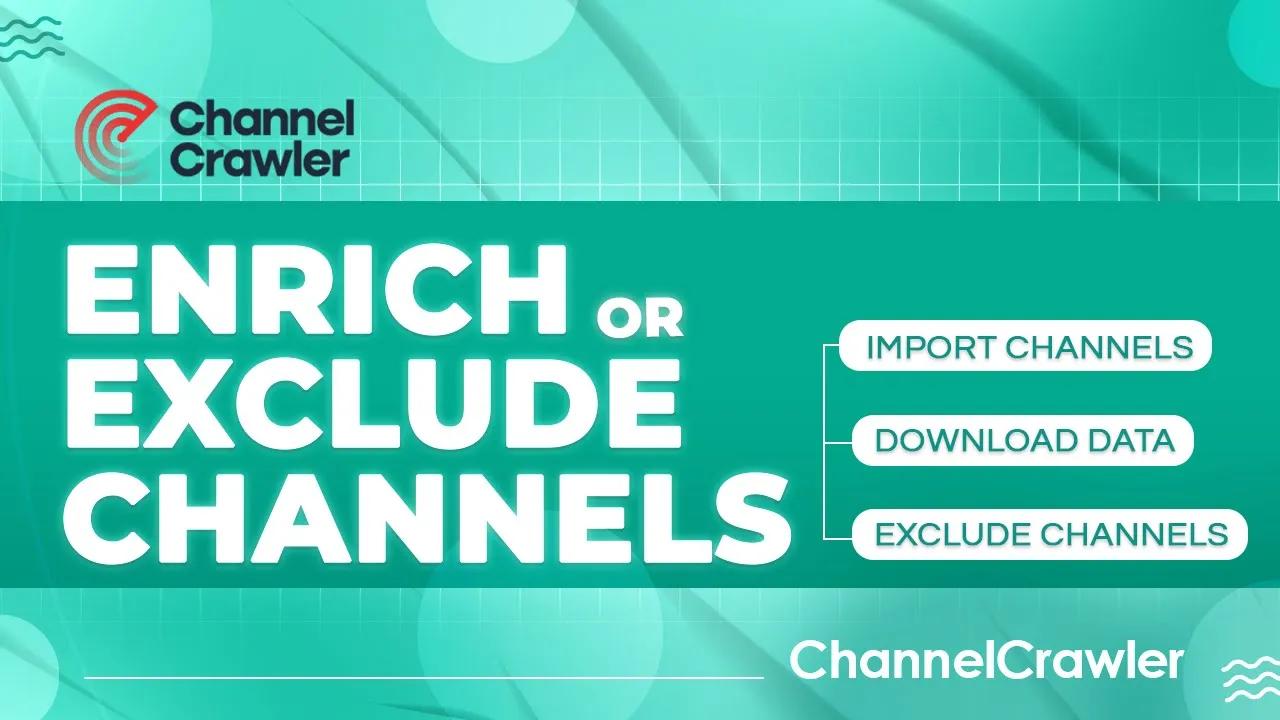
1. Export Enriched Contact Data
- Open your import, click View Channels, then select Download Data.
- Choose the “email addresses” option to export enriched contact details along with channel summaries and social handles.
2. Exclude Channels from Searches
- Head to All Filters and select Exclude Imported Channels.
- Choose your specific import (or exclude all imports) to keep them out of your future search results.
- This ensures you don’t waste credits retrieving data you already have.
3. Apply Filters to Your Imported List
- Narrow down imported creators using the same filters available in ChannelCrawler searches.
- Instantly identify which creators in your existing list fit your current campaign goals.
Final Thoughts
Importing channels into ChannelCrawler is more than just file management, it’s about streamlining your influencer workflow. From enriching contact data to excluding duplicates and applying advanced filters, imports give you more control over your campaigns.
👉 Ready to get started? Head to your dashboard, upload your first list, and make the most of ChannelCrawler’s importing features.


